How to Ruck with a Weighted Vest: Fit, Progressions, and When to Switch
· 8 min read · rory@getrucky.com
weighted vest technique beginner
Can you ruck with a weighted vest? Yes—done right, it’s a great way to build capacity. This guide covers fit, load placement, progressions, and when to switch to a ruck pack for longer or hillier sessions.
- Start light (5–10% bodyweight), build time before weight.
- Fit matters: snug straps, plate high, zero bounce.
- Switch to a ruck for longer (>45–60 min), hills, or heavier loads.
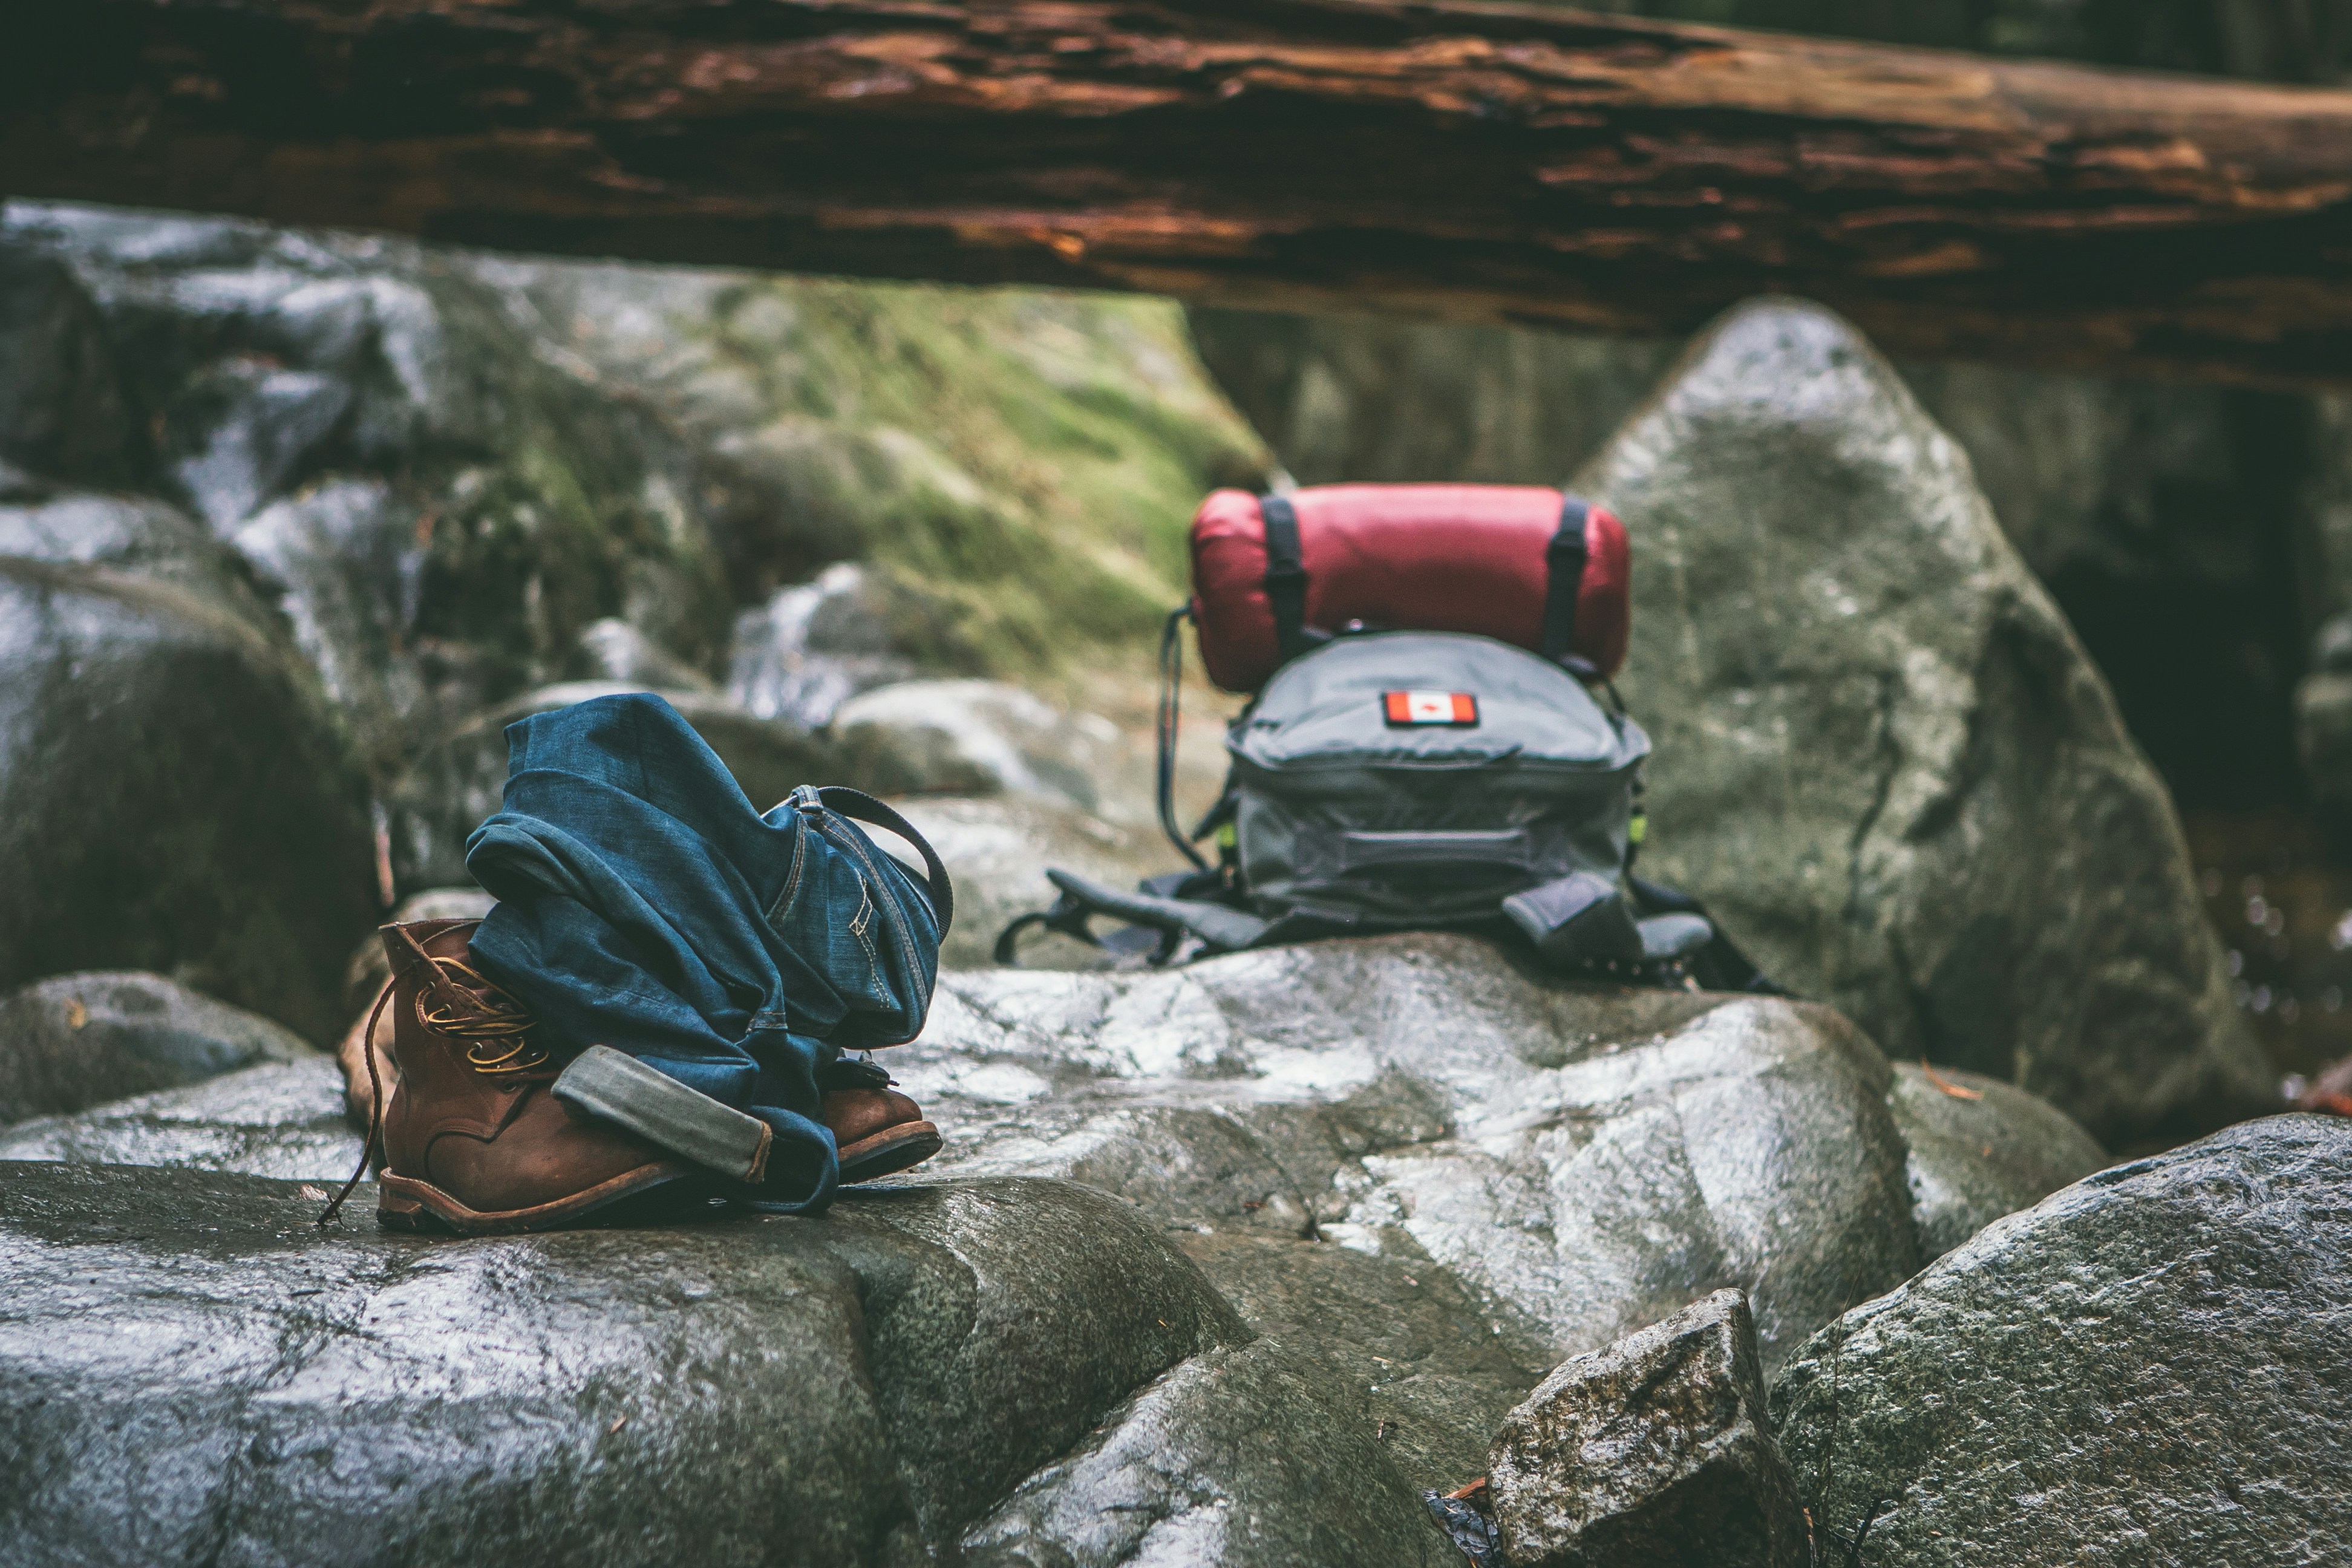
Story: The "No-Bounce" Fix
My first vest ruck was a shoulder‑shrug festival—front plate sat low, straps were loose, and every step felt like a chest tap. I stopped, raised the plate two inches, tightened top and bottom evenly, and stuffed a thin towel along the rib line. The bounce vanished, breathing opened up, and my pace improved by ~20 sec/mi at the same effort. Tiny fit tweaks make big differences.
Fit and Setup
- Snug, not suffocating: Vest shouldn’t bounce; secure top and bottom straps evenly.
- Plate height: Center mass high on the torso; avoid low slouching plates that hammer your lumbar.
- Breathing room: You should breathe freely at conversational pace—micro‑adjust straps after 5–10 minutes.
Load Placement and Comfort
- Even front/back: Balance reduces torque on the spine; if front‑heavy, expect forward lean and neck tension.
- Soft tissue hotspots: Use smooth liners and avoid seams rubbing the clavicle or lower ribs.
- Footwear and socks: Cushioned, wide‑toe shoes and synthetic socks cut down blister risk.
Progressions
- Week 1–2: 2–3 sessions, 20–35 min easy, 5–10% bodyweight total.
- Week 3–4: 30–45 min easy, add a short hill segment or 3x(3 min brisk / 2 min easy).
- Beyond: Add time before weight; increase load in 2–5 lb steps.
Example Progression
Ana, 150 lb: Starts with 10 lb (≈7%). Week 1: 25 min easy x2. Week 2: 30–35 min x3. Week 3: keep 10 lb, add 3x(3 brisk/2 easy). Week 4: 40–45 min, one short hill. Week 5: add +2.5–5 lb if feet/skin/joints feel great. Result: comfort climbs without torching the joints.
When to Switch to a Ruck Pack
- Longer than ~45–60 min: Hip belt and shoulder pads from a pack reduce discomfort.
- Steeper hills: Pack load sits closer to the spine; easier posture and breathing on grades.
- Heavier loads (≥20% BW): Packs distribute weight better and prevent vest‑induced forward lean.
Rucking Calorie Calculator
Estimate effort by weight, pace, and grade with our free tool: Open the Rucking Calorie Calculator.
References
- Looney, D.P. et al. (2024). Metabolic Costs of Walking with Weighted Vests. Med Sci Sports Exerc. PubMed.
- Looney, D.P. et al. (2022). Modeling the Metabolic Costs of Heavy Military Backpacking (LCDA). Med Sci Sports Exerc. Open access.
- Knapik, J.J. et al. (2004). Load carriage biomechanics and injury risk. J Strength Cond Res.
Can you ruck with a weighted vest?
When should I switch from a vest to a ruck pack?
Related Guides
- Weighted Vest and Ruck Fitting - Stop the bounce
- How Much Weight Should You Ruck With? - Start smart
- Knee and Back Safety - Reduce injury risk
- Rucking Calorie Calculator - Estimate effort
Enjoyed this guide? Download the app to track your rucks, calories, and progress: iOS · Android